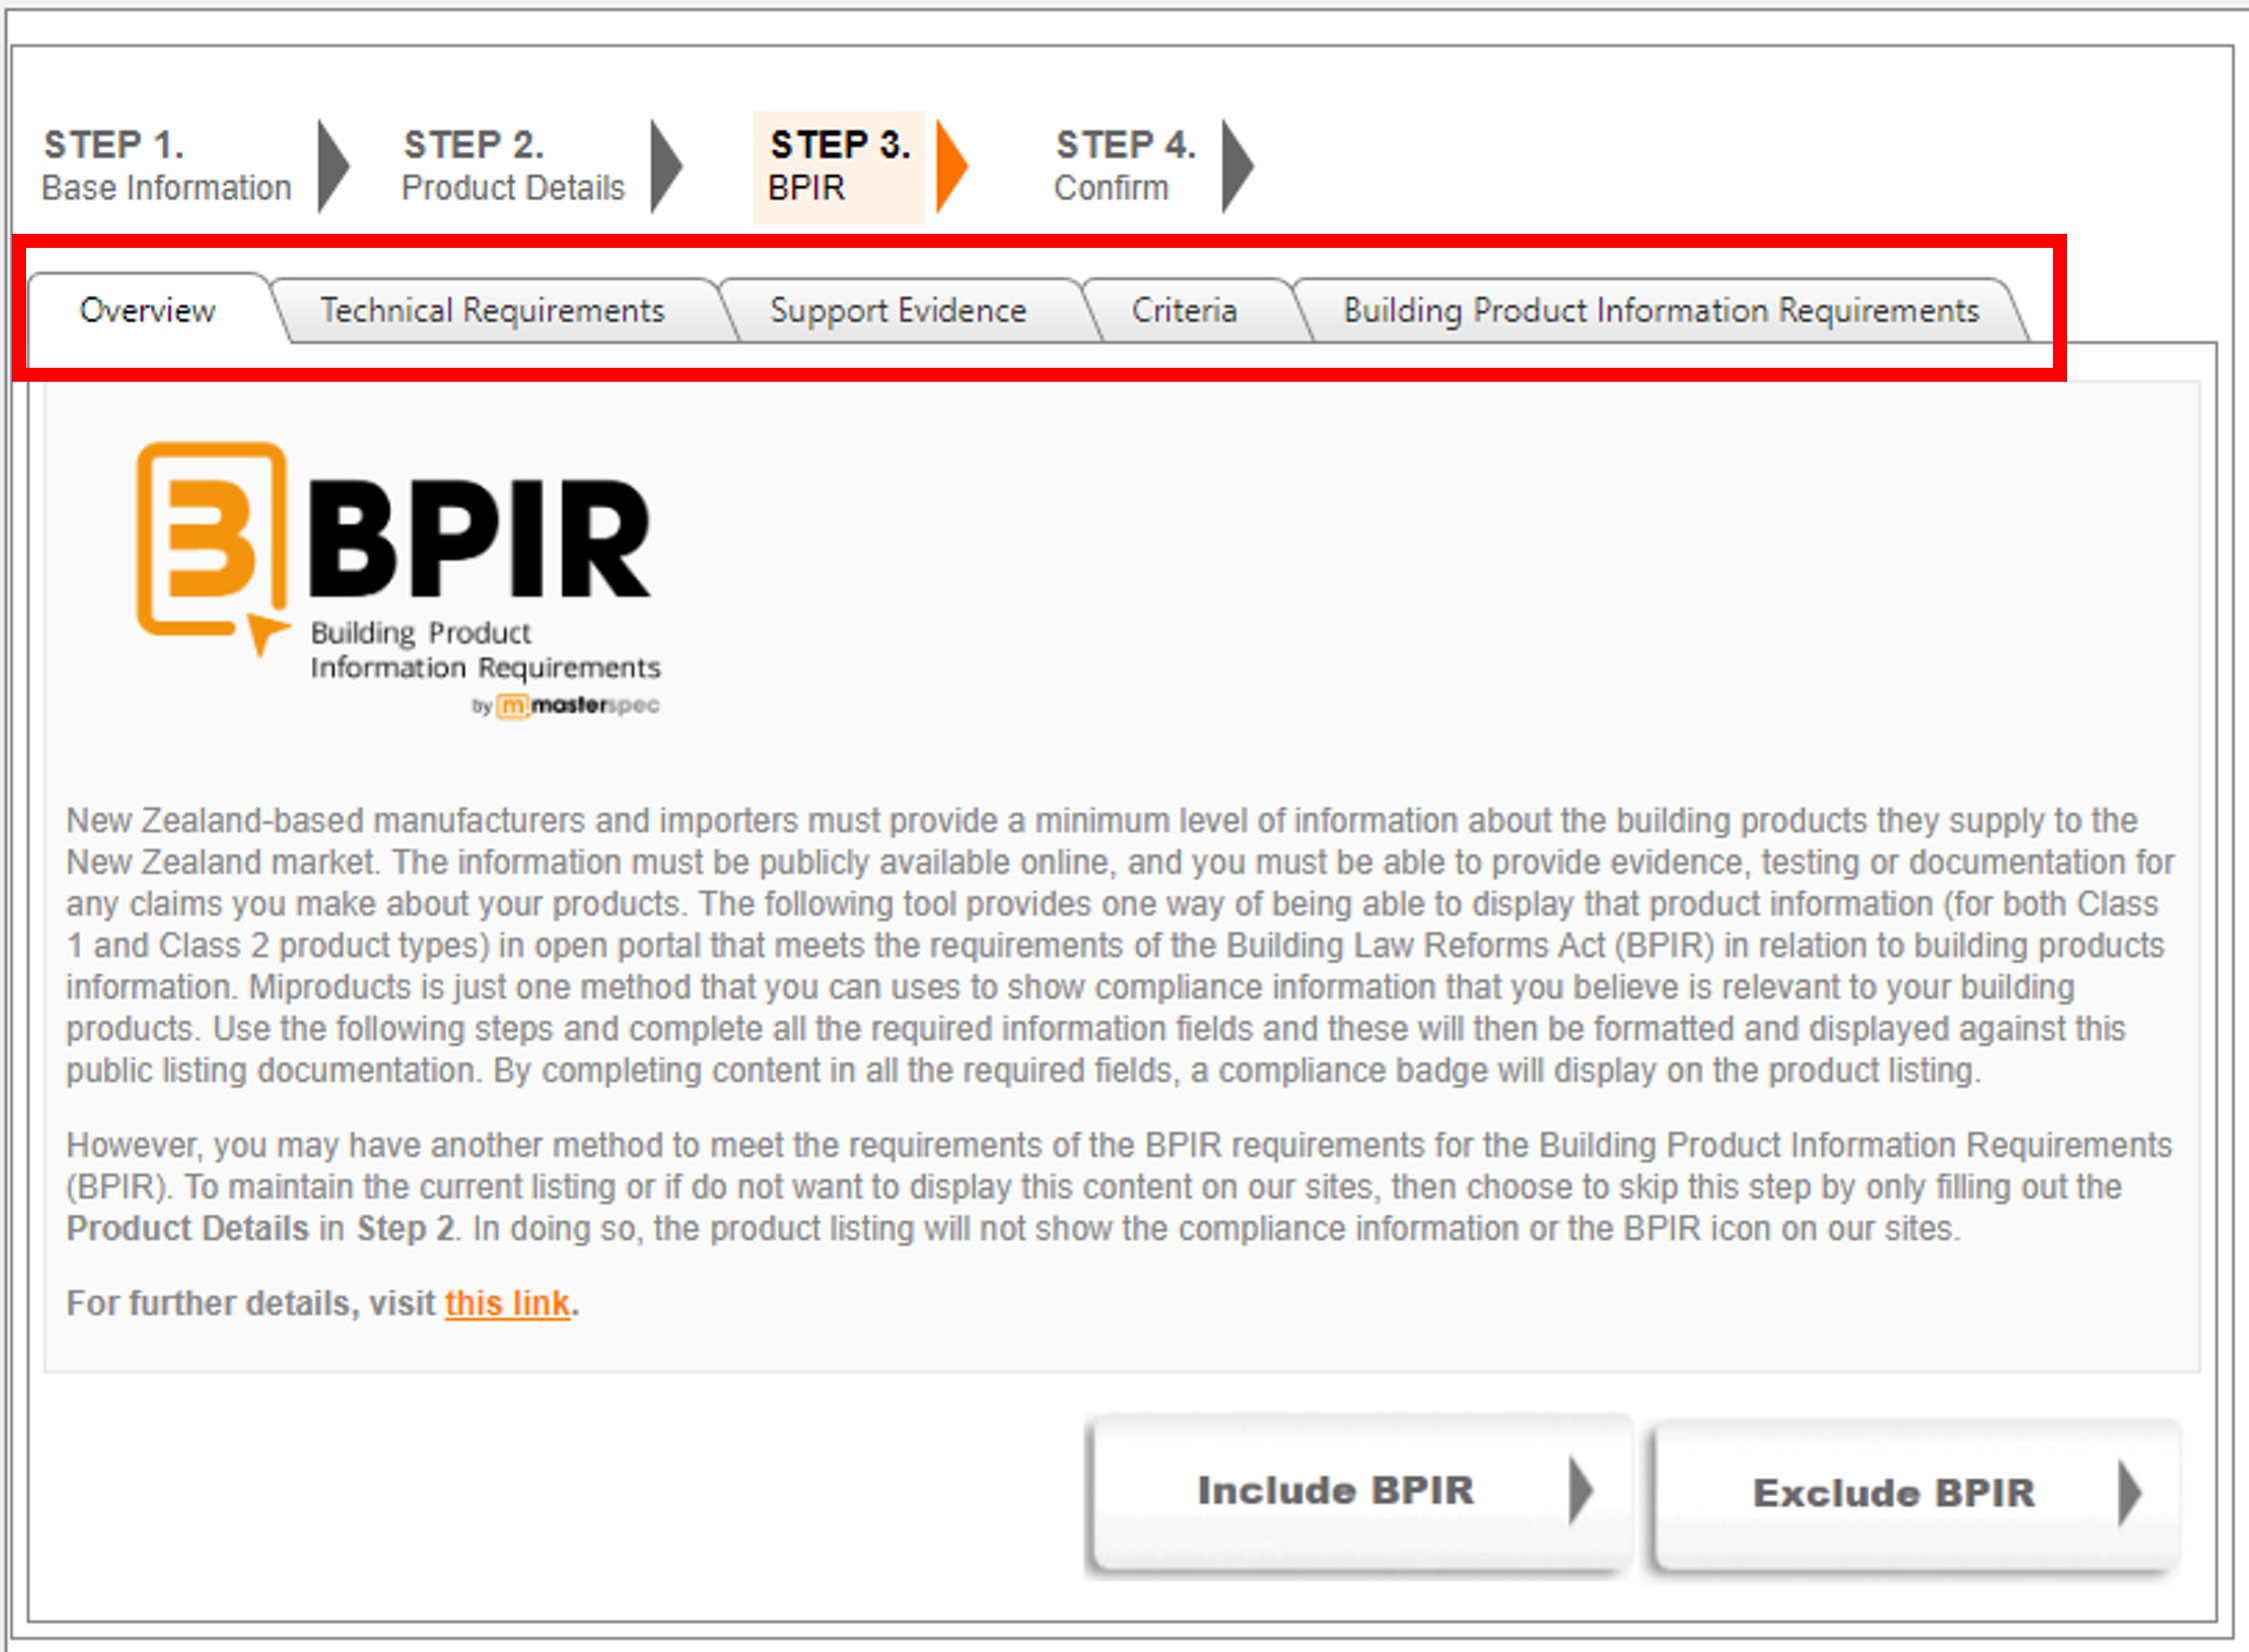
 Figure 6: Step 3 BPIR tabs
STEP 3: BPIR
Tab name: Technical Requirements
Field name: Technical Requirements of the New Zealand Building Code (*Required field)
The first field on this tab is a selection area that requires at least one value for your product and how it is expected to contribute to relevant Building Codes clauses. Click the plus symbol (+) to expand the section and select by ticking the box to the right of the appropriate Building Code clause that relates to your product or system. If you are unsure how your product meets the NZBC, have a look at your existing Masterspec section to start with and it would be found somewhere in your existing technical documentation or ever a CodeMark / BRANZ Certificate. At minimum, include Durability (B2) and include Hazardous Building Materials (F2.3.1).
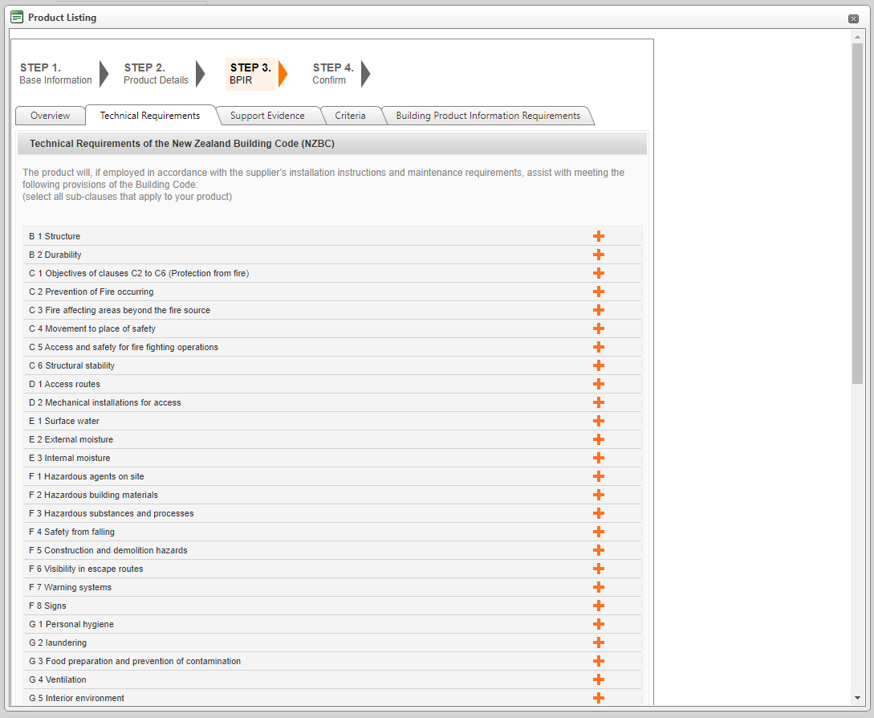 Figure 7: NZ Building Code Clause selection
Once you have selected your code clauses they will appear at the base of the page.
 Figure 8: NZ Building Code selection preview
Field name: Notes Text Box (Not a required field)
Allows additional information to be added should it be necessary.
Hit Save and Continue button once done to proceed to the next tab (Support Evidence).
Tab name: Support Evidence
Field name: Evidence - Methodology Summary of NZBC Compliance (*Required Field)
- How does your product meet the Building Code performance requirements you selected in the previous step?
- Detail any applicable Standards, acceptable solutions, and verification methods etc.
- (Notably; this is the hardest part of understanding and completing a BPIR. How do you show how you meet the requirements - the best example of this is testing and detailing the testing information and a link to the certification. Evidence is required here).
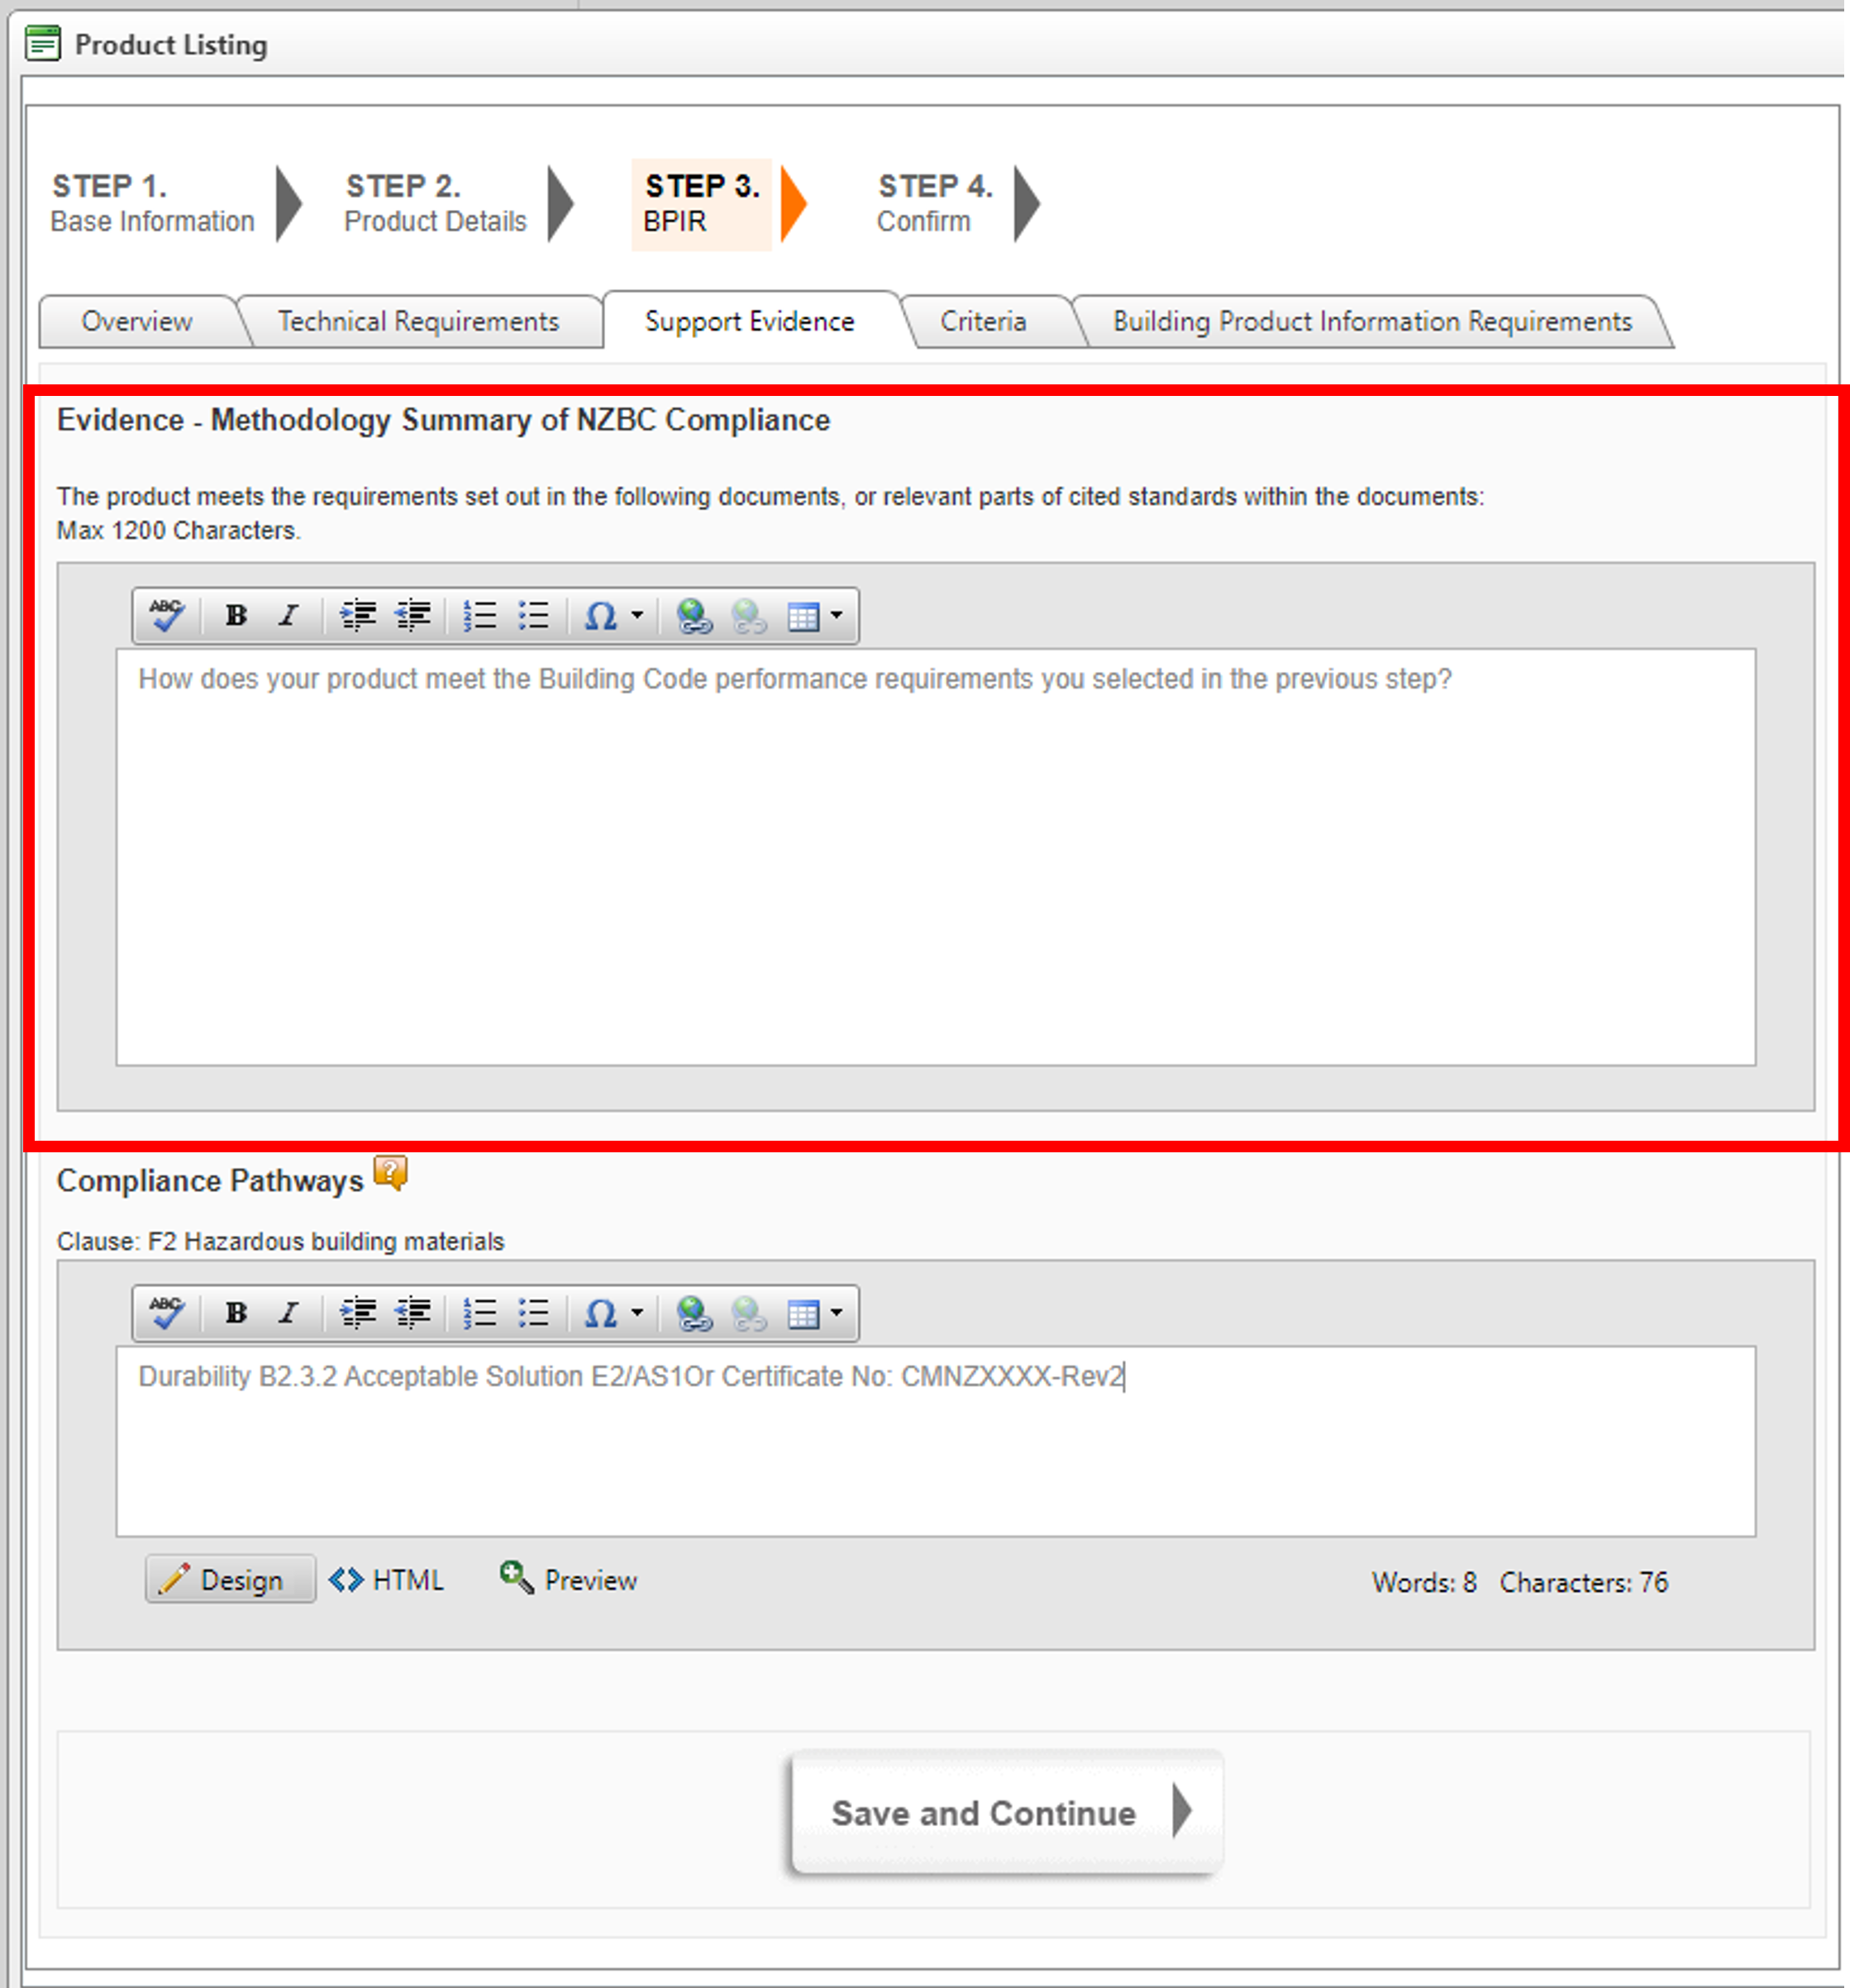 Figure 9: Evidence - Methodology Summary of NZBC Compliance
Field name: Compliance Pathways (Not a required field)
A link to the verified document or explain how your product complies or meets the NZ Building Code. (i.e. CodeMark, BRANZ Appraisal, Acceptable Solution, Alternative Solution, Independent Testing, Referencing a PS1)
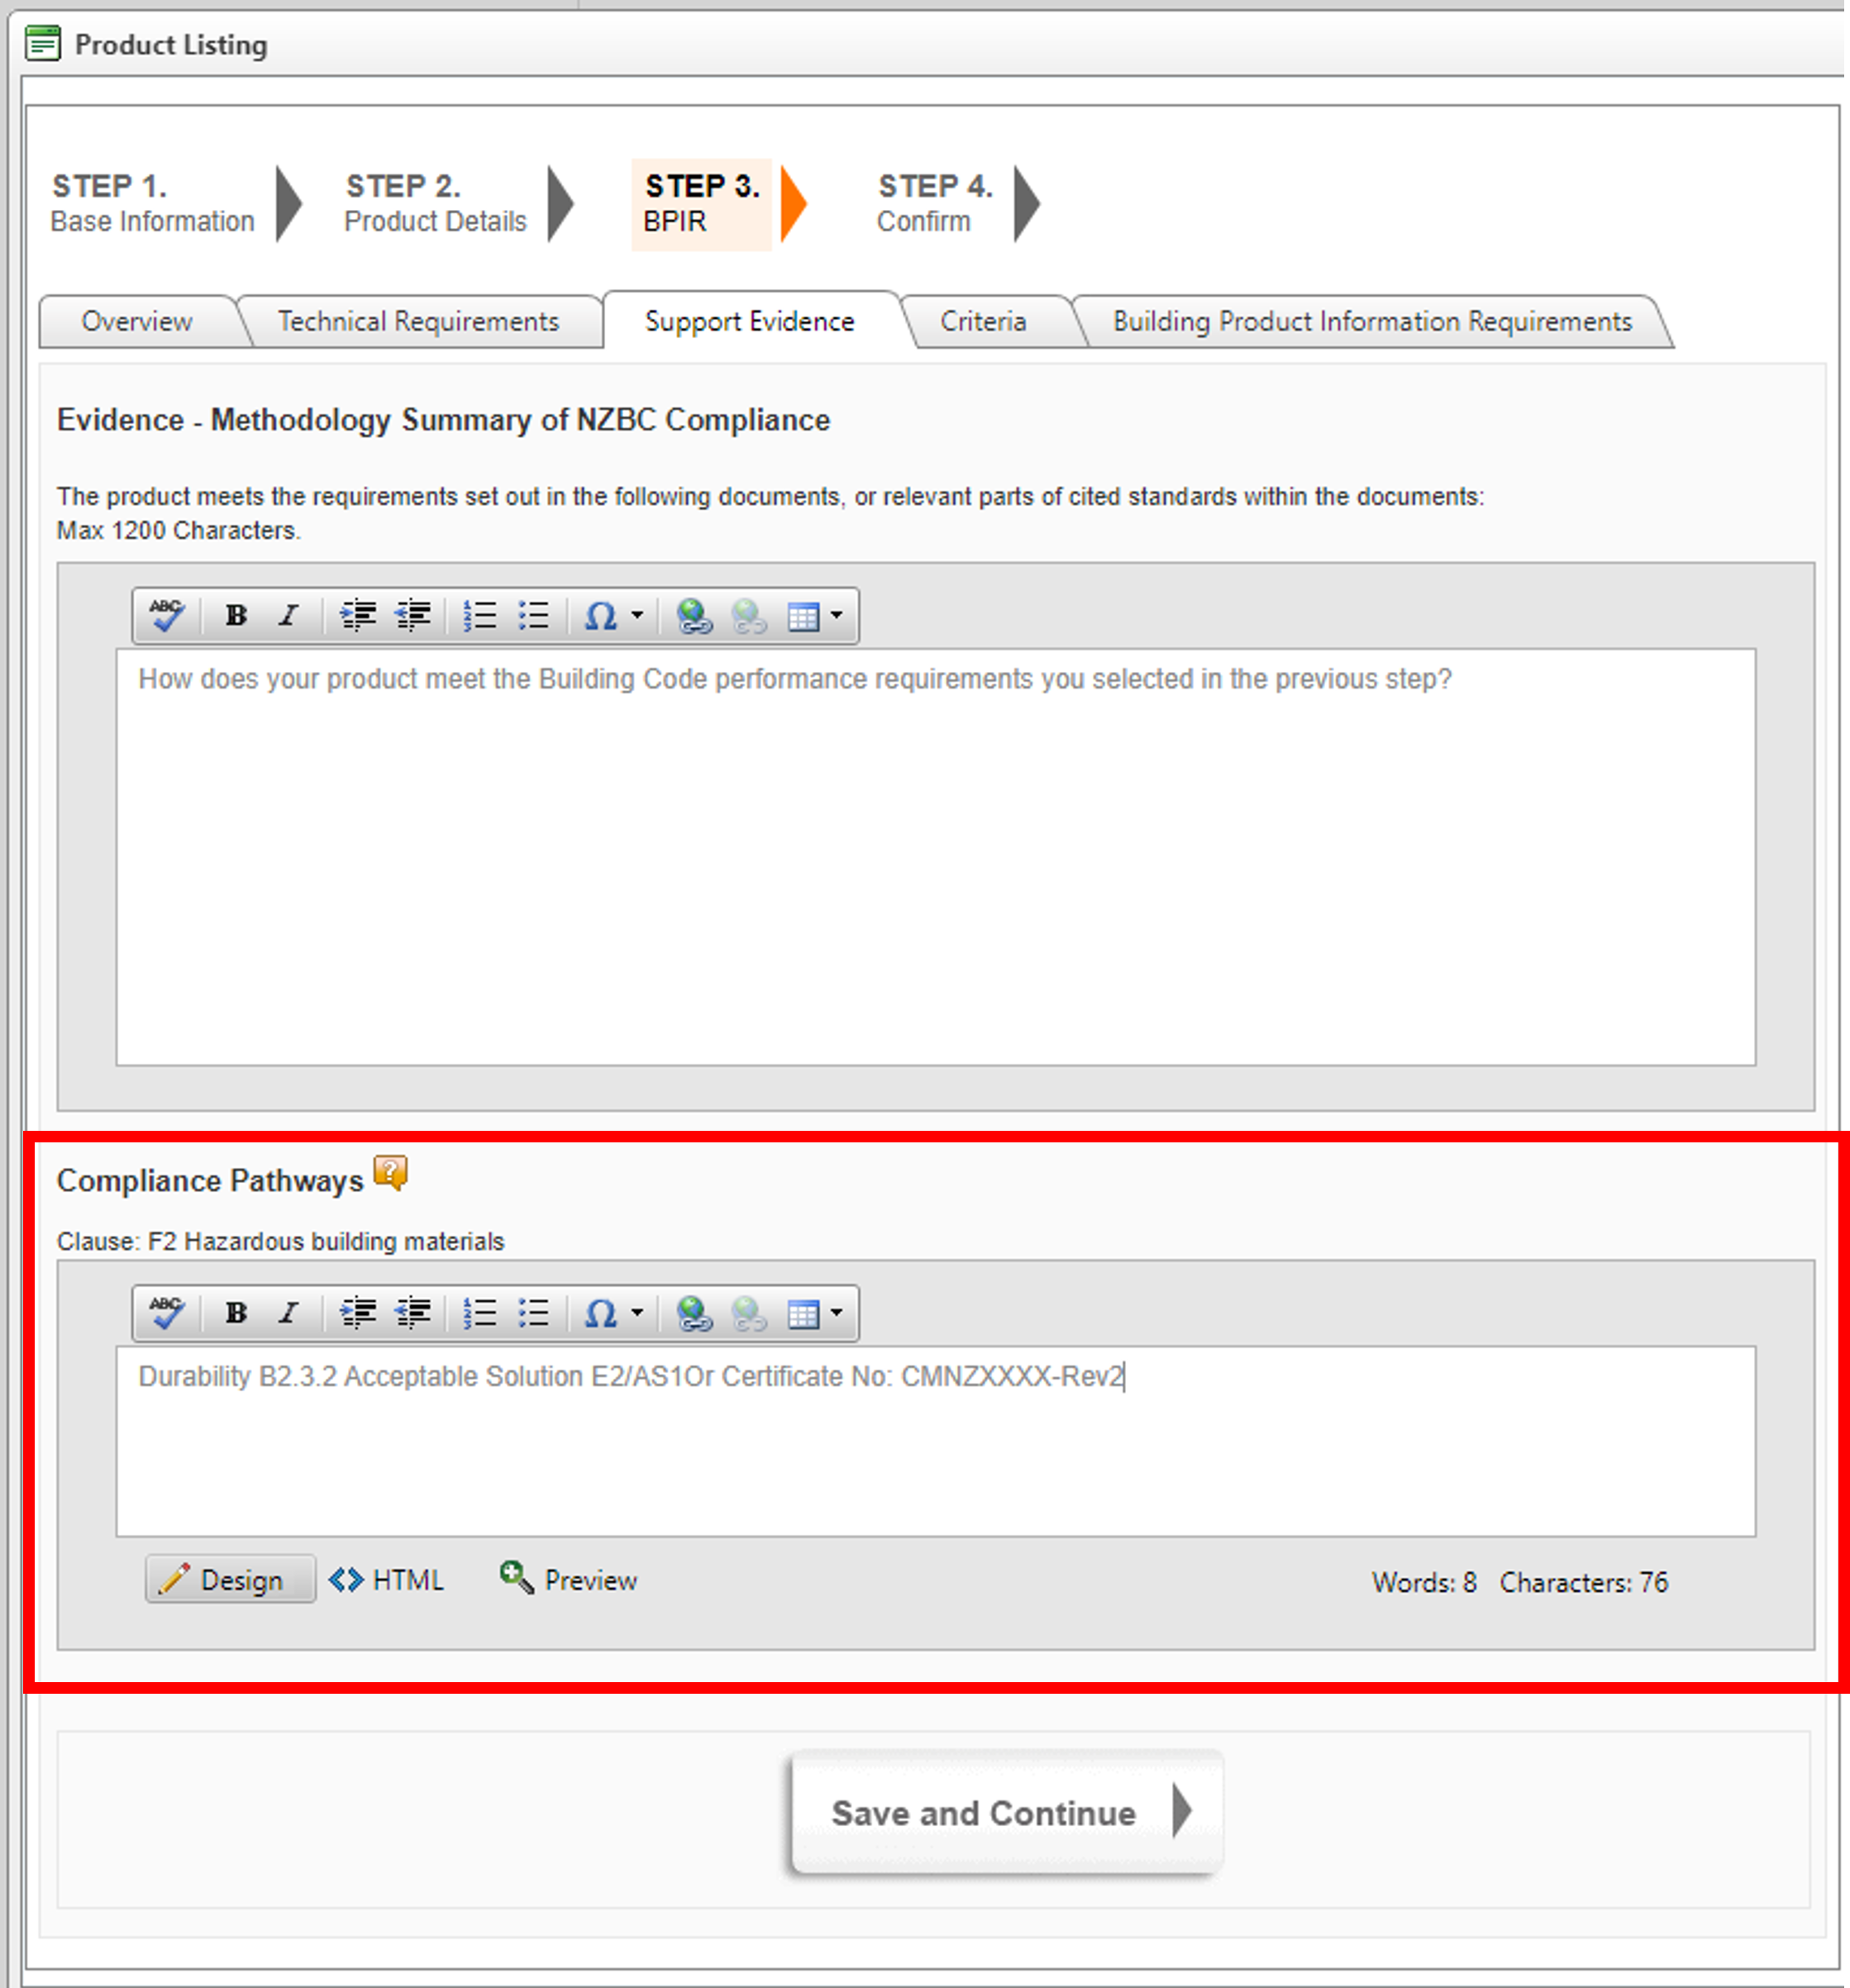 Figure 10: Compliance Pathway field for every clause selected
Tab name: Criteria
(Note: Same as what it is for a PTS).
Fields on this tab: Design guidelines, Installation requirements, Maintenance documents. All of which are *required fields. This will be information from your technical material in brief to explain the product or system. You can use this to reference PDF documentation on your website that provide Installation Instructions, Design Guidelines and Maintenance Instructions.
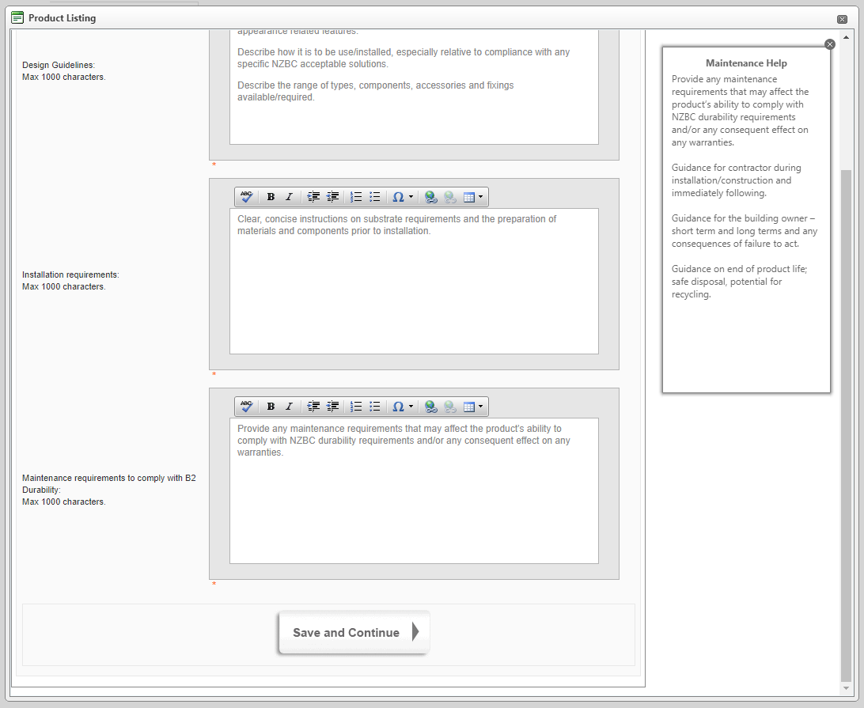 Figure 11: Design Guidelines, Installation Requirements, & Maintenance fields
Tab name: Building Product Information Requirements
Field name: Scope of Use (*Required field)
State clearly what your product is intended to be used for and any restrictions on that range of use. For example, an exterior cladding may require to be used on a cavity above a certain risk score (refer to NZS 3604), or there may be minimum falls required for a particular roofing product.
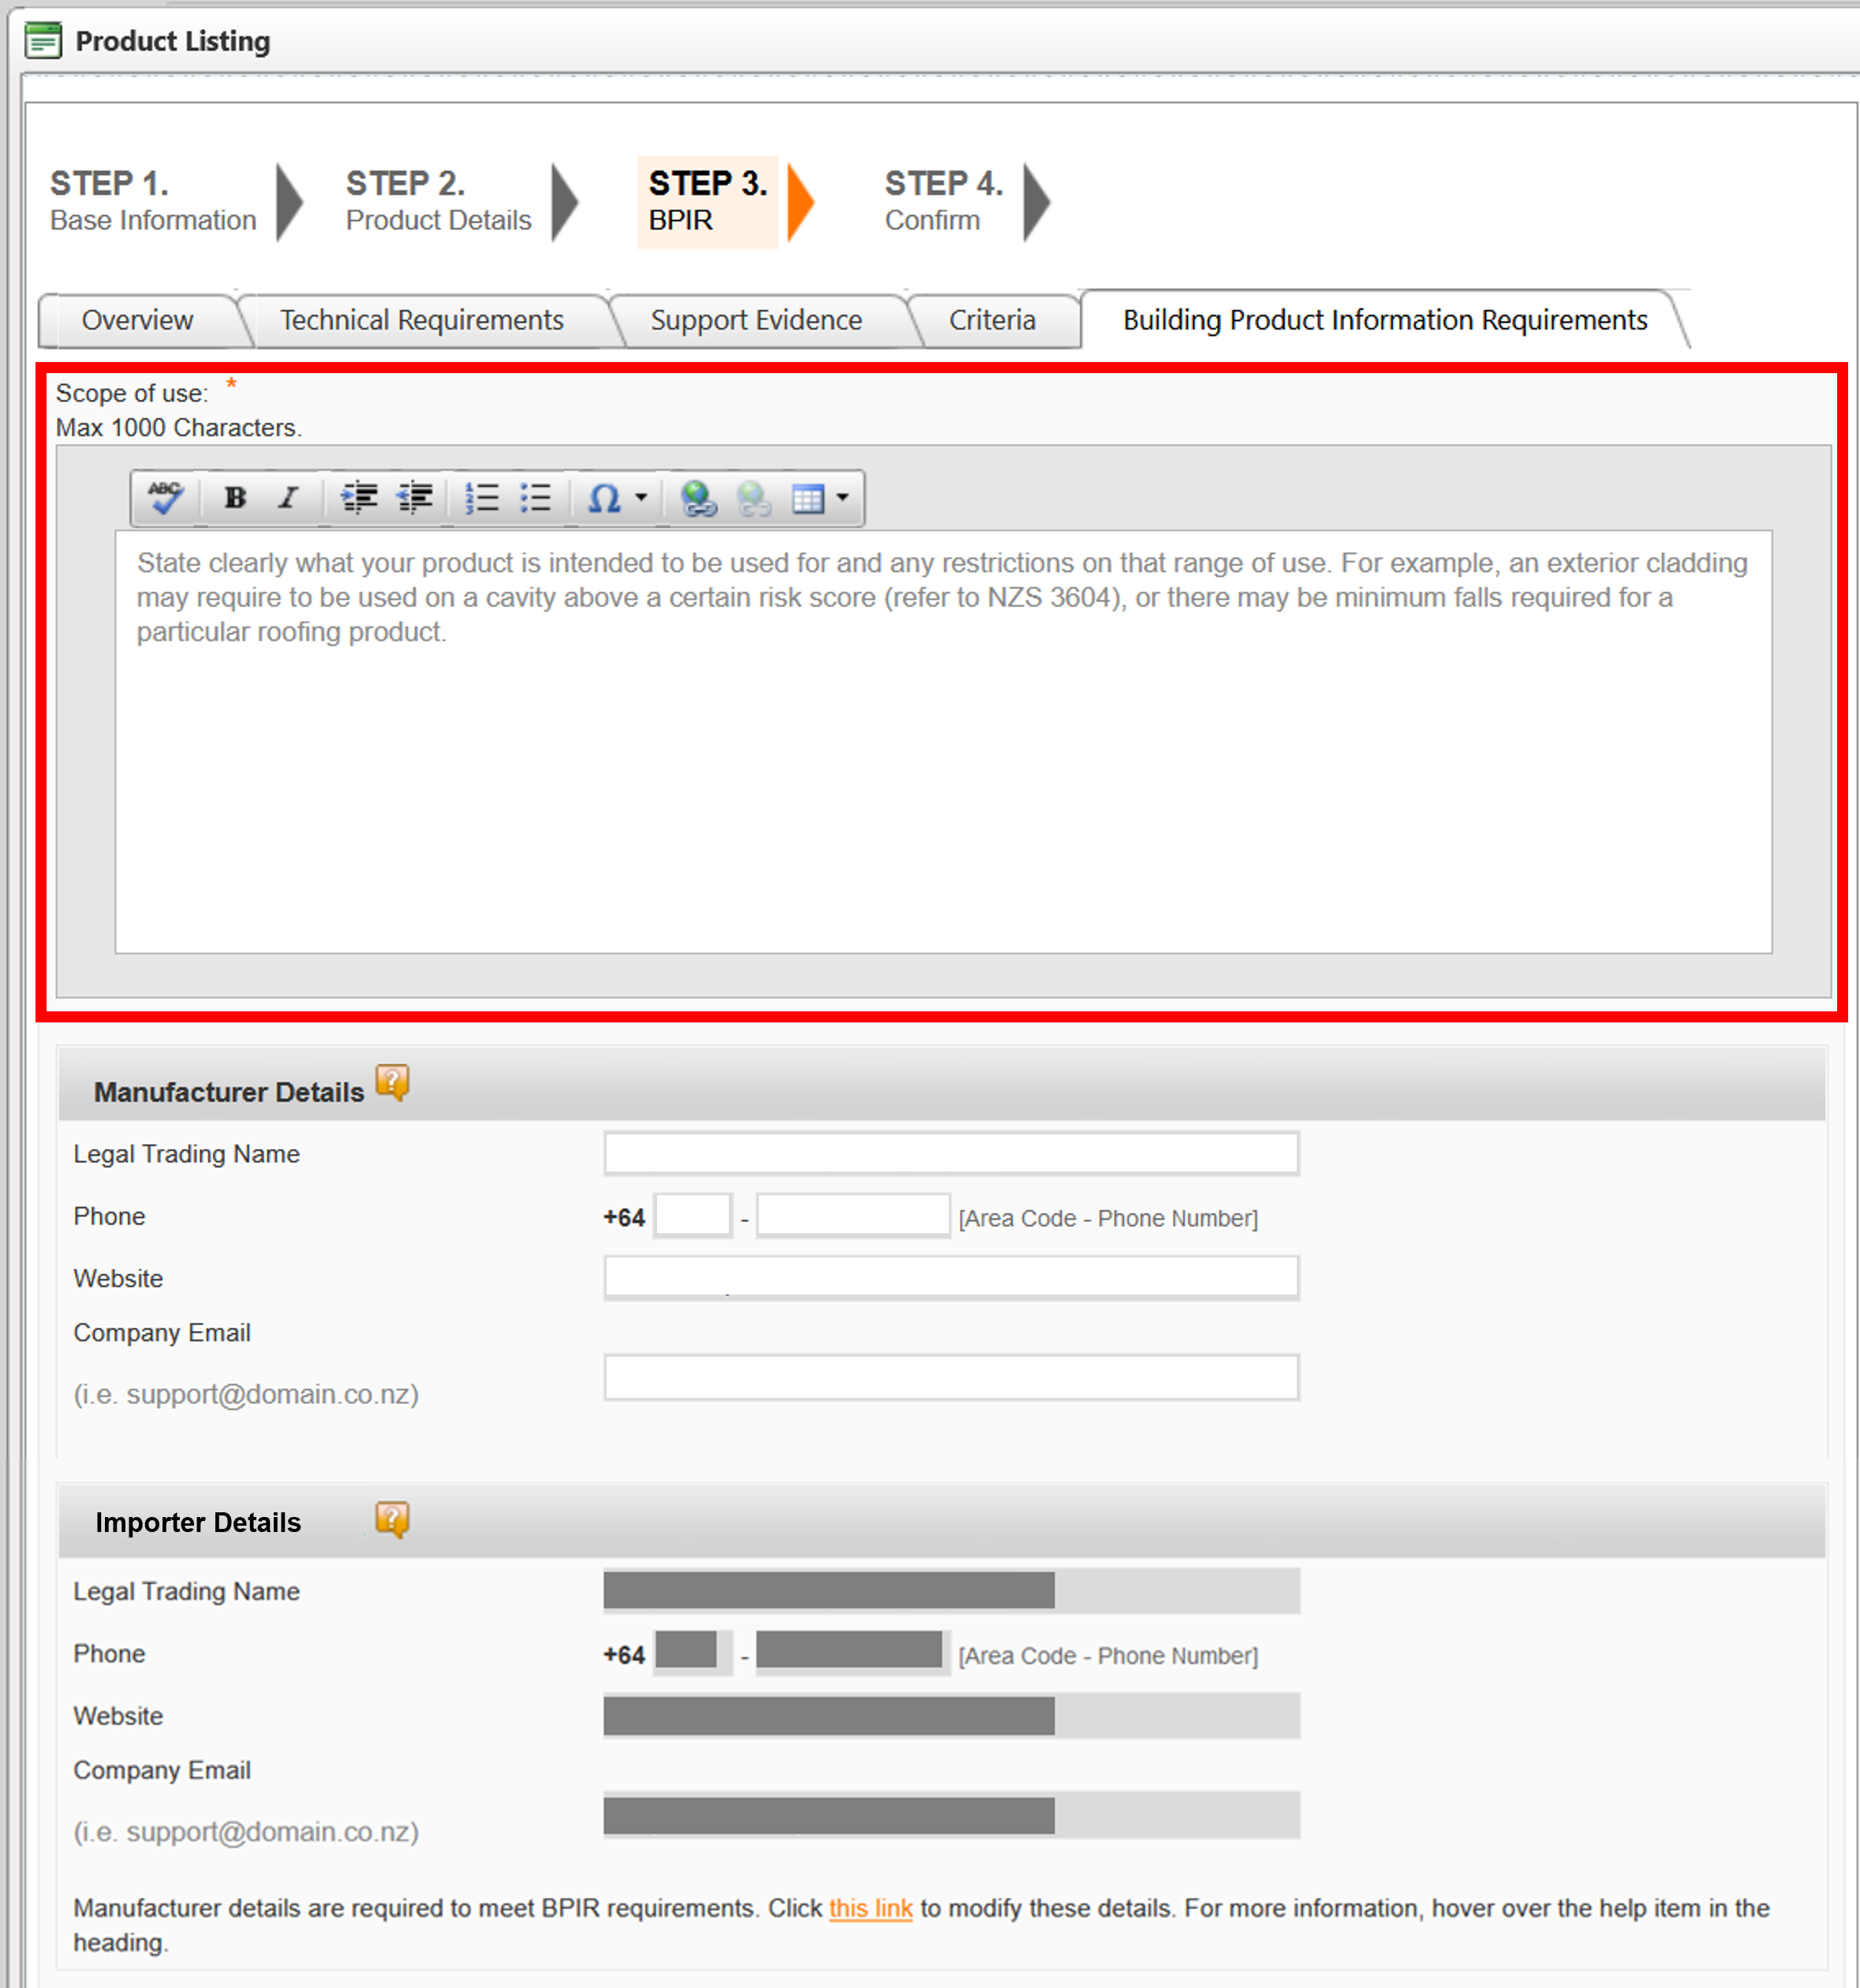 Figure 12: Scope of Use field
Field names: Manufacturer & Importer Details (*Required field)
- Only manufacturer details displays if manufacturer has been selected in STEP 1. Base Information
- Both fields are displayed if you select Importer/Reseller in STEP 1. Base Information
- Importers must state manufacturer details.
Greyed out fields cannot be modified in this form. You must go to the Company Details page* (*This is permission based as an Organisation Administrator. If you don't agree with the Company Details, please contact gen@masterspec.co.nz)
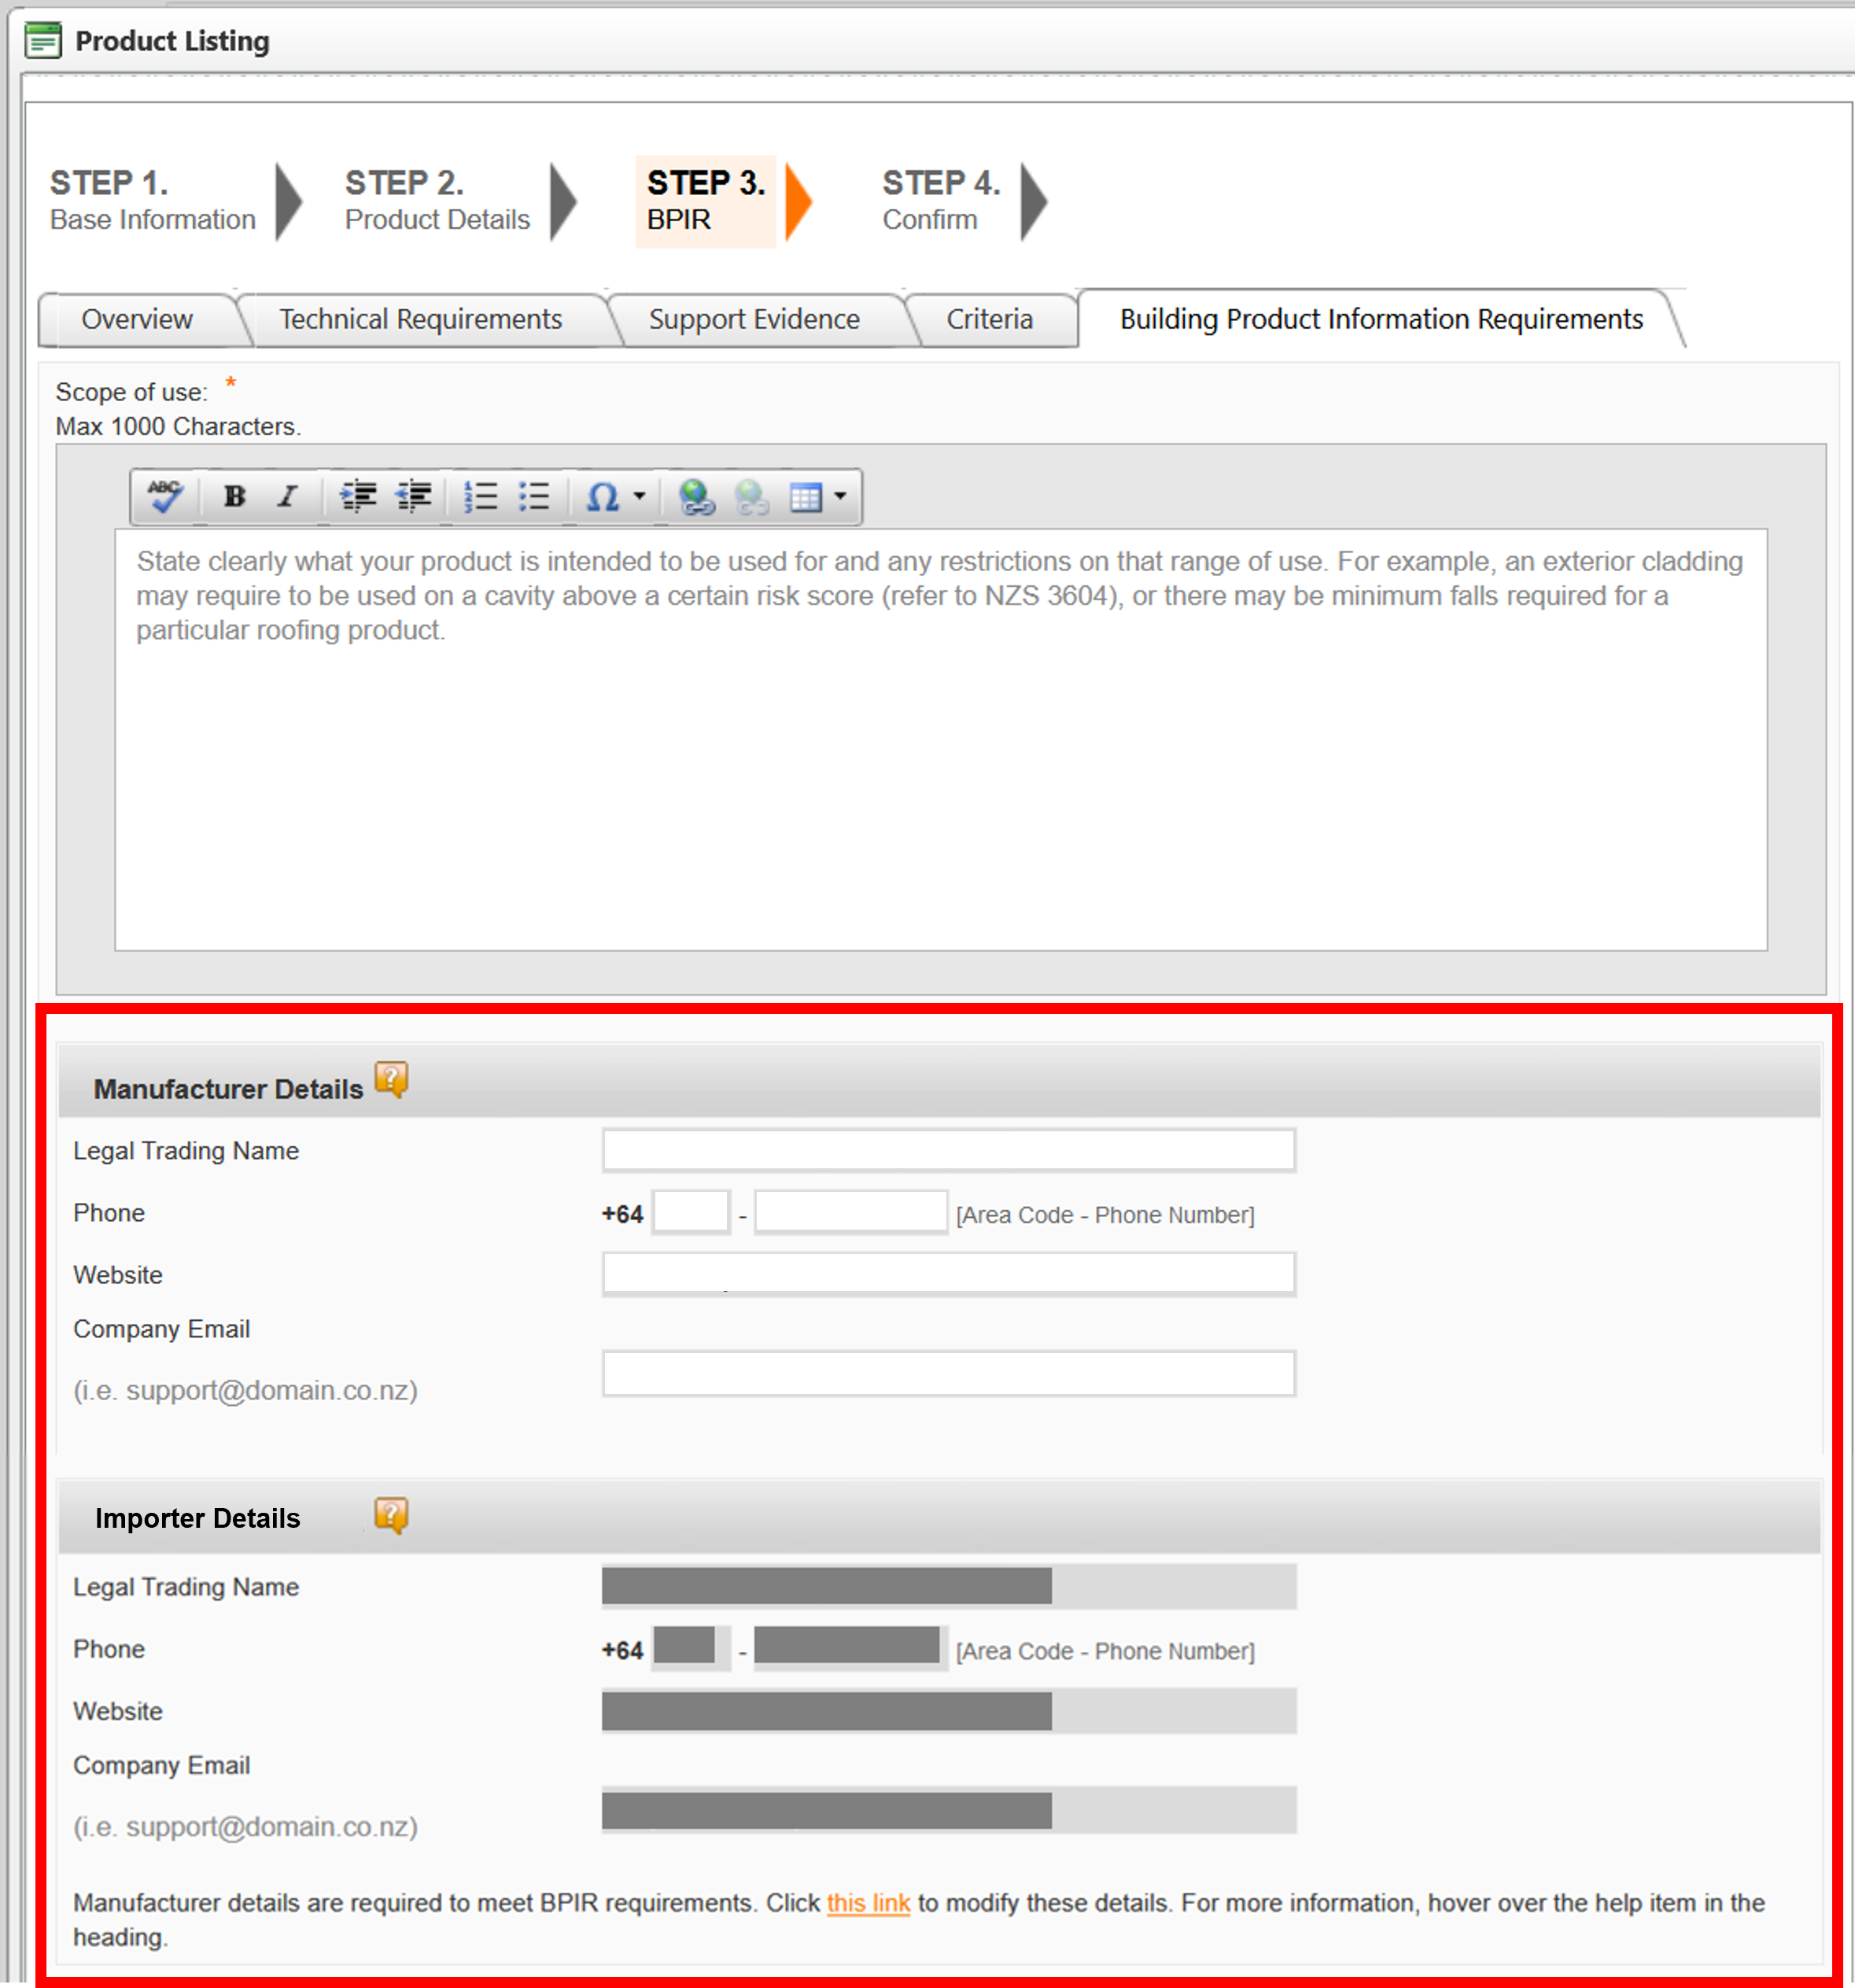 Figure 13: Manufacturer & Importer Details fields
Field name: Product Identifier (*Required field)
Product identifiers are a series of numerical or alphanumerical digits that are used to uniquely identify a specific product. Use itemisation such as Product Code. If the listing is for multiple products, list all the codes that the BPIR relates to.
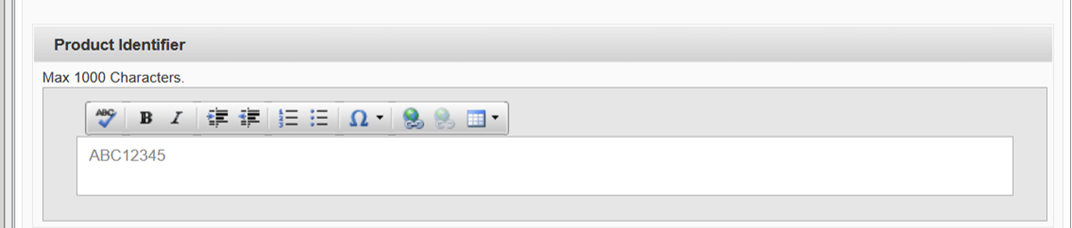 Figure 14: Product Identifier field
Field name: Warnings (Not a required field)
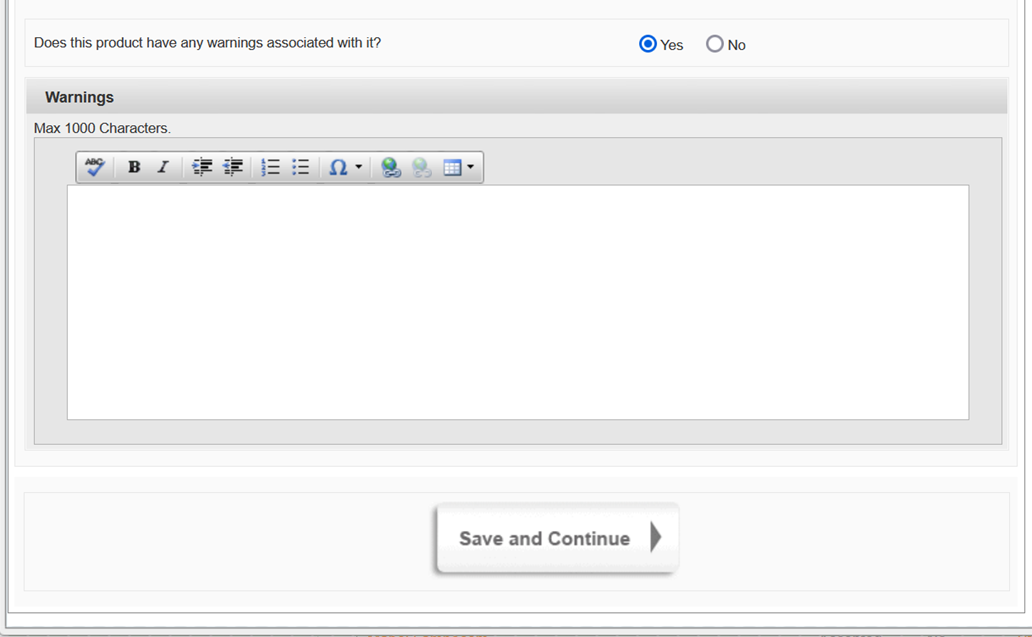 Figure 15: Warnings section
The Y/N question defaults to “No” which means there are no warnings associated with this product. But if your products do have warnings, select “Yes”, then the Warning text box will show.
The information provided on this field should be a clear and concise statement that the product is not subject to any warnings or bans, or a description of warnings or bans applicable to the product.
Click Save and Continue once completed
STEP 4: Confirm
This final step is simply for you to confirm and make final checks to your changes.
Check your listing by clicking on the orange name. This will pop up. BPIR details are found on a separate tab. (see image below)
If you are happy, tick the terms and conditions at the bottom and confirm the listing.
This will go to the Masterspec Team for checking.
Remember if it is a new listing, it needs to be assigned to a work section (once approved).
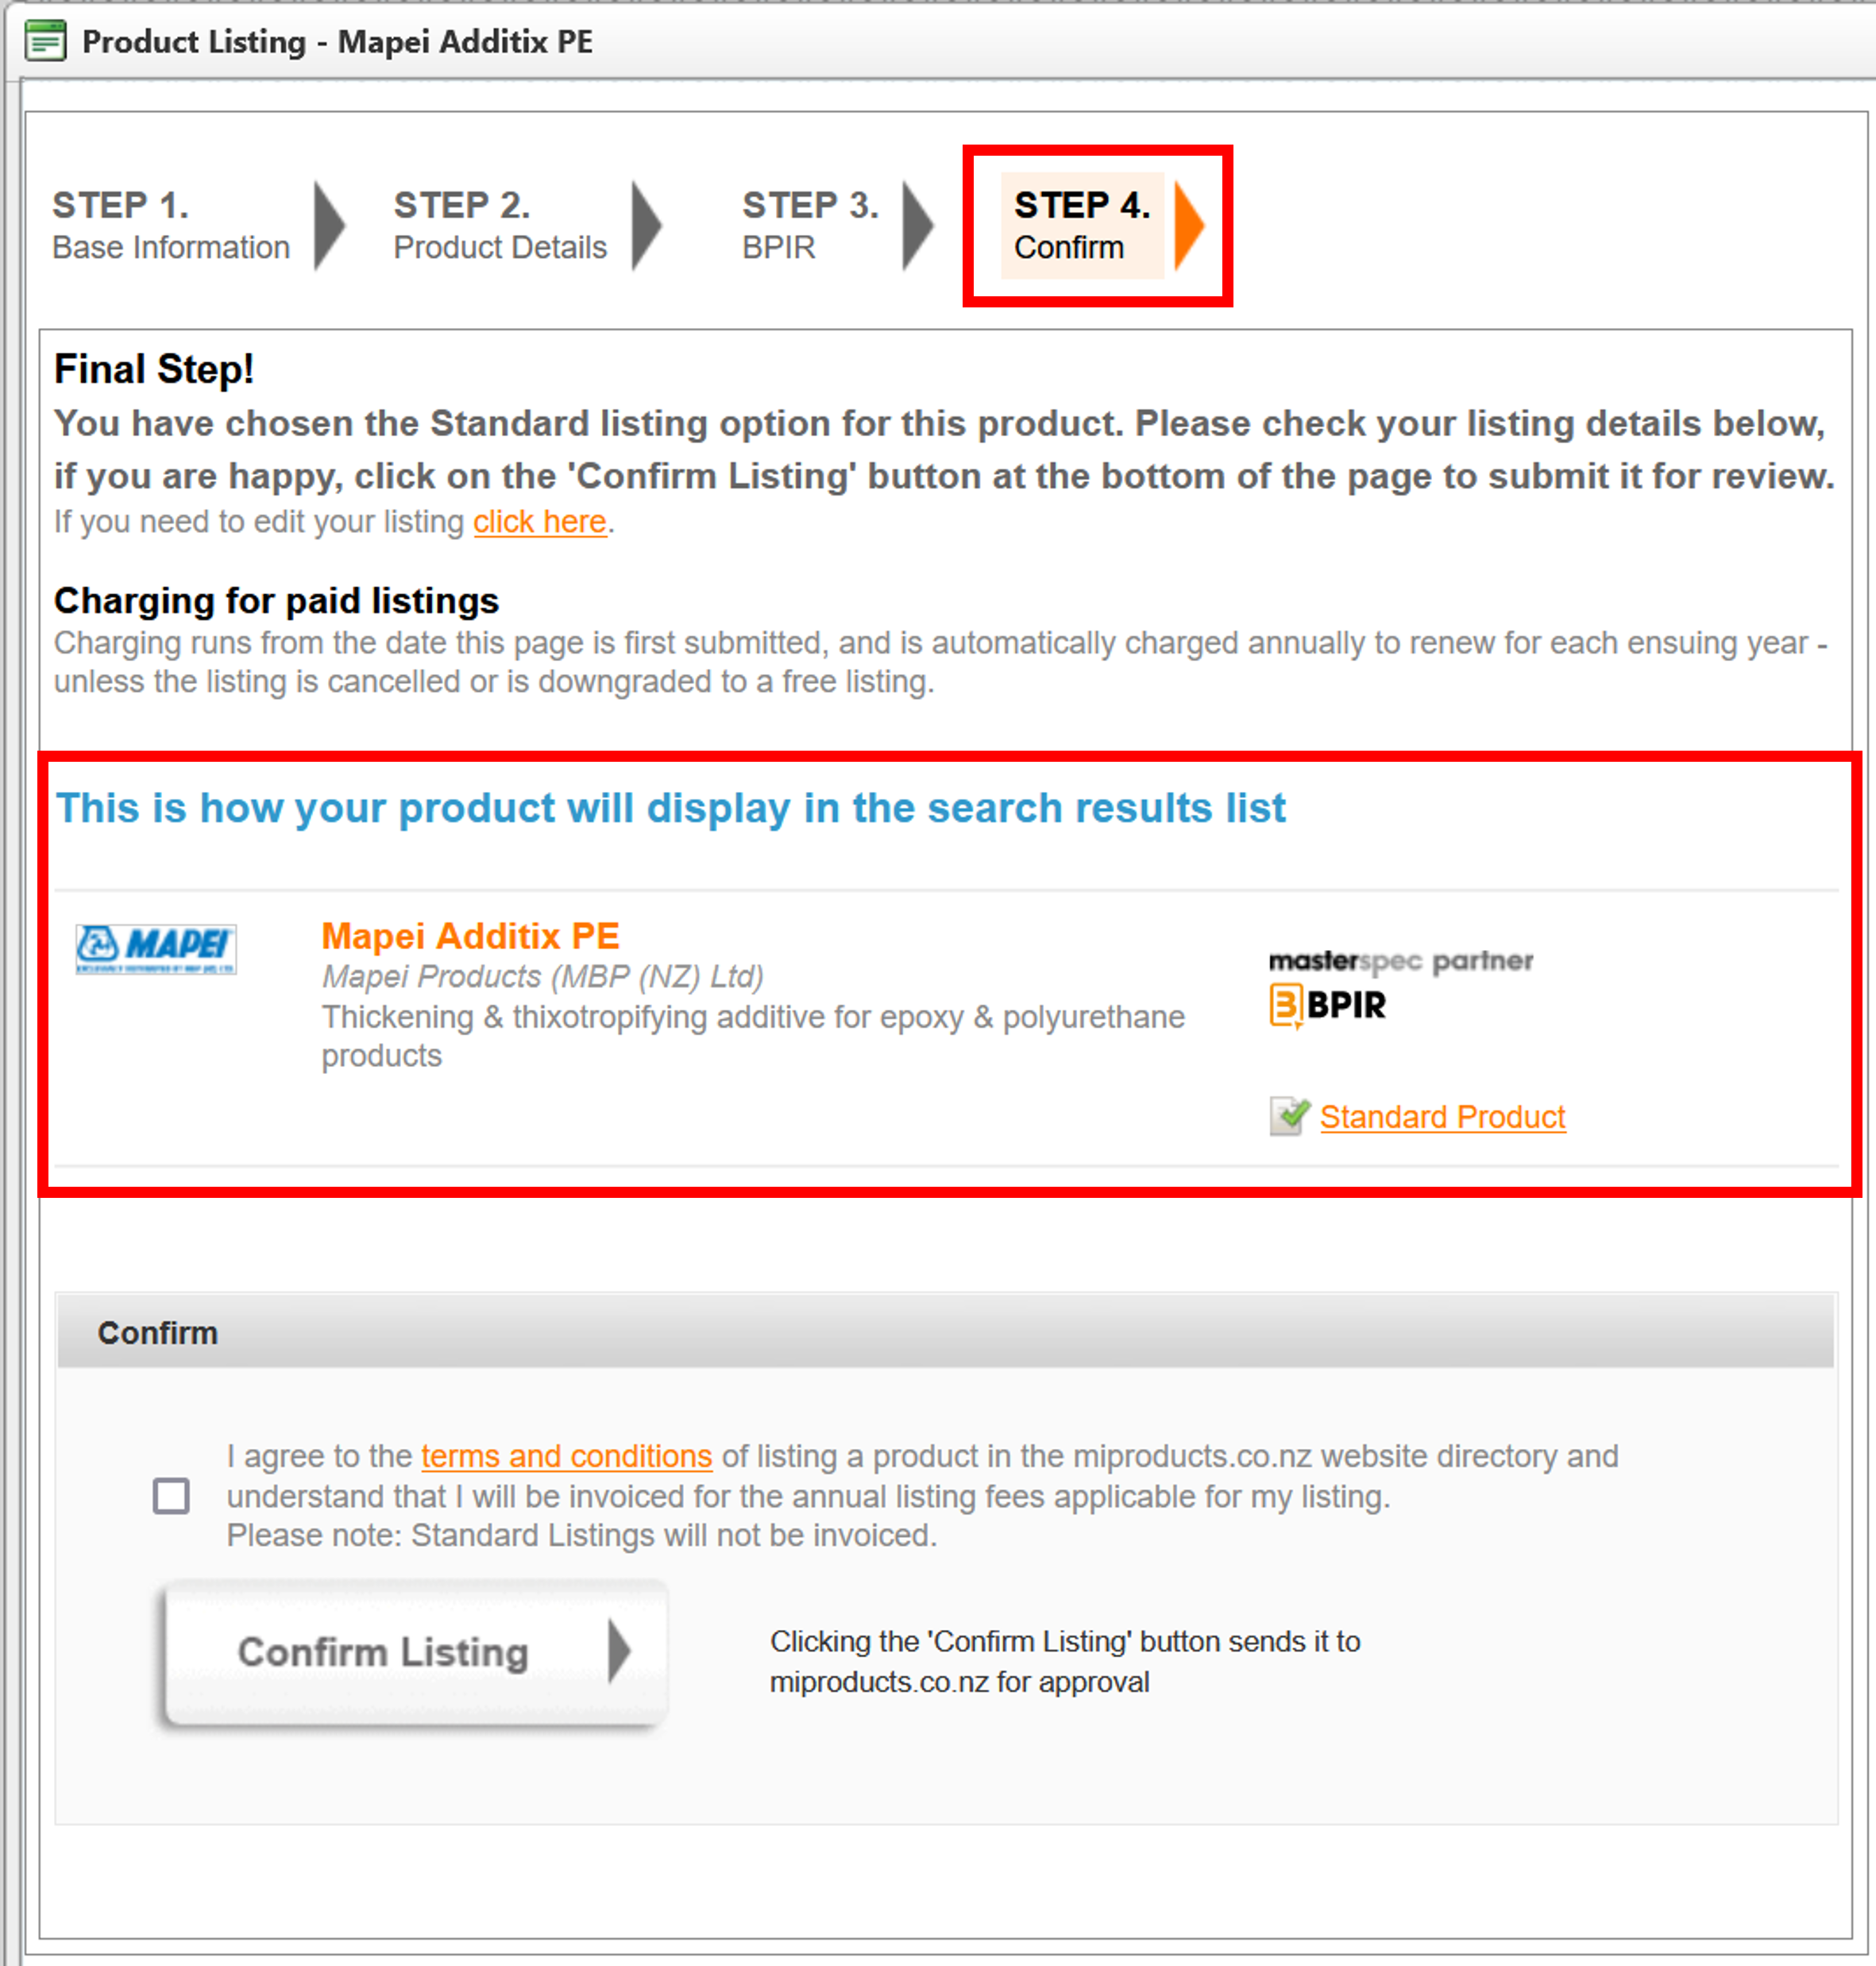 Figure 16: Step 4 confirmation and preview
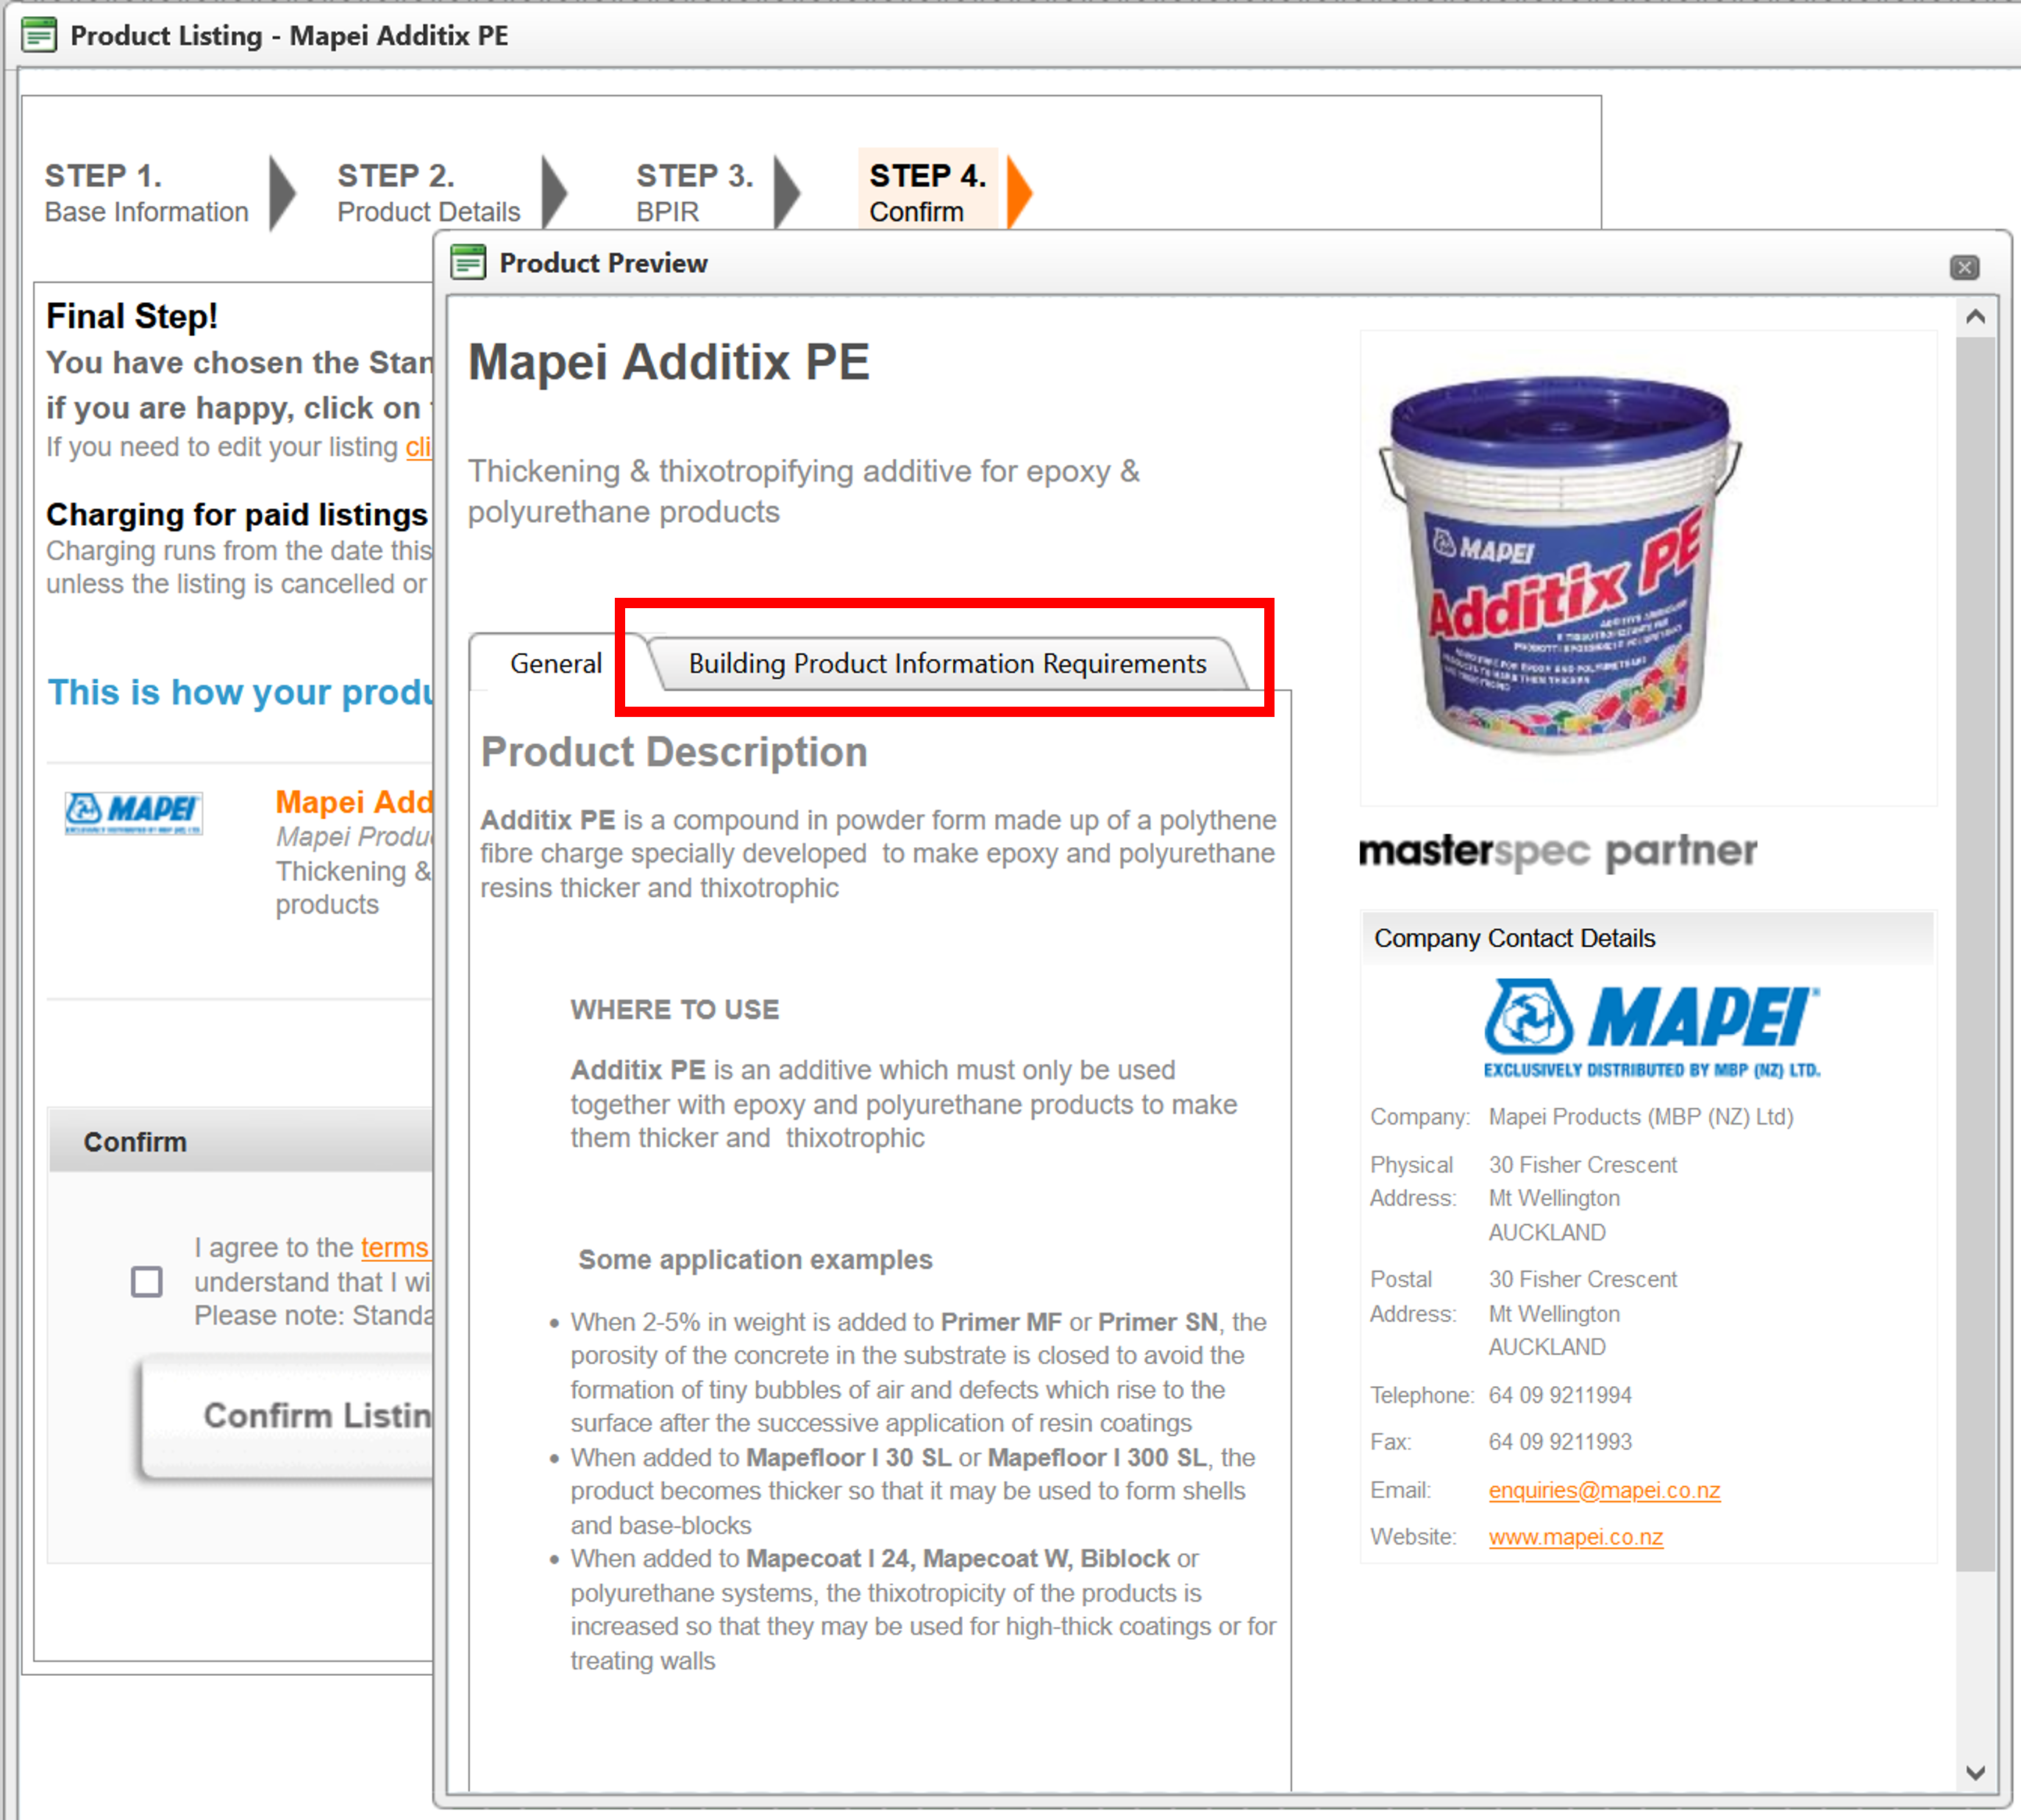 Figure 17: BPIR pop up preview